
 Español
Connect your AI
In every case you need the MCP server URL. It is on the AI & MCP tab of your account, with a Copy button. Below it appears as <URL>: replace it with yours.
Each card on the tab opens these same steps, with the address filled in.
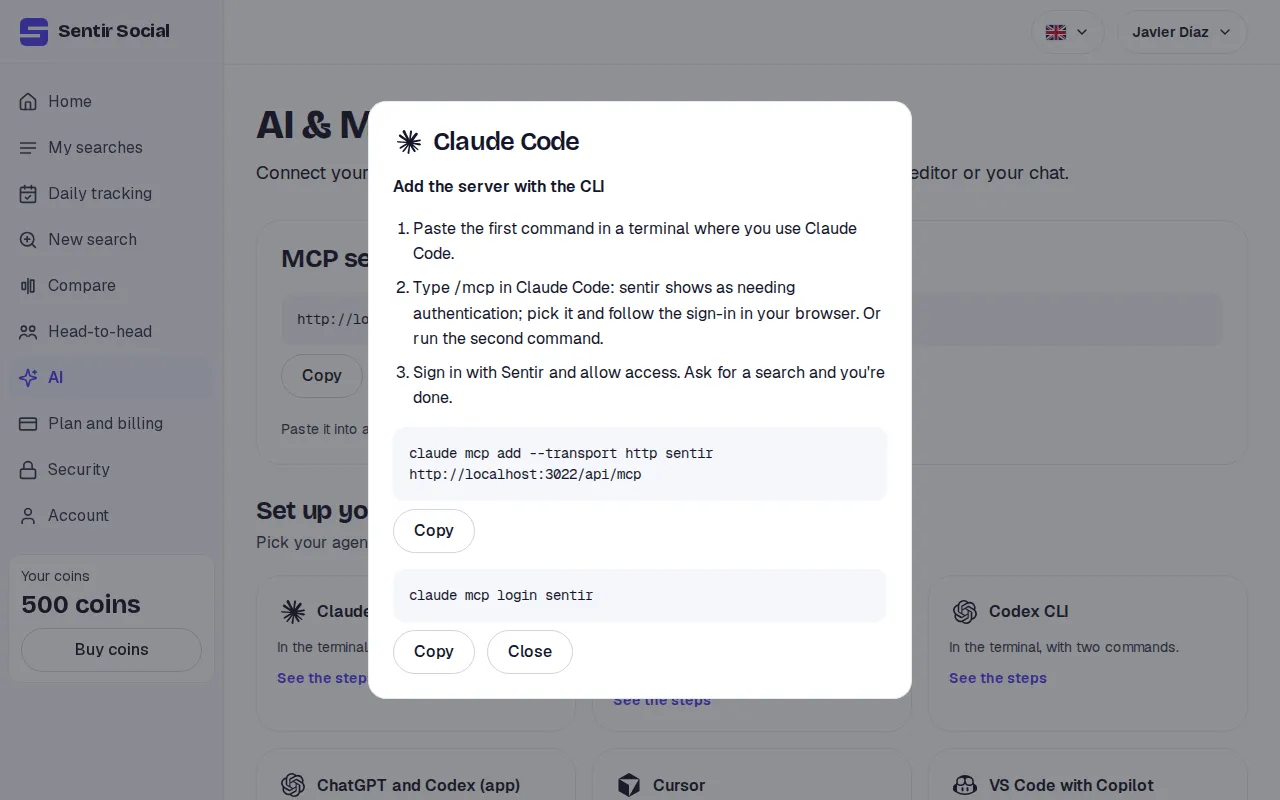
-
Paste the first command in a terminal where you use Claude Code.
Ventana de terminal claude mcp add --transport http sentir <URL> -
Type
/mcpin Claude Code: sentir shows as needing authentication. Pick it and follow the sign-in in your browser. Or run the second command.Ventana de terminal claude mcp login sentir -
Sign in with Sentir and allow access. Ask for a search and you’re done.
Steps checked against the Claude Code docs: code.claude.com/docs/en/mcp.
For claude.ai and Claude Desktop, as a connector.
-
On claude.ai open Customize, then Connectors. Click Add and choose Add custom connector.
-
Name it, paste the server address and continue. Keep “Sign in now” ticked.
-
Sign in with Sentir, allow access and click Add. In a chat, turn it on from the + button. Claude Desktop uses the same connectors of your account.
Steps checked against Claude’s help: support.claude.com, custom connectors.
-
Paste the first command in your terminal.
Ventana de terminal codex mcp add sentir --url <URL> -
Run the second: your browser opens to sign in with Sentir.
Ventana de terminal codex mcp login sentir -
Allow access and go back to Codex. In the chat,
/mcpshows sentir connected.
Steps checked against the Codex docs: learn.chatgpt.com/docs/extend/mcp (CLI).
The desktop app, from Settings.
-
Open Settings, then MCP servers. Click Add server.
-
Name it sentir, choose Streamable HTTP, paste the address and save. Click Restart.
-
In the list click Authenticate: sign in with Sentir and allow access. In the chat,
/mcpshows the connected servers.
ChatGPT on the web doesn’t read this configuration: use the desktop app or Codex. Steps checked against learn.chatgpt.com/docs/extend/mcp (app).
-
Create
.cursor/mcp.jsonin your project (or~/.cursor/mcp.jsonfor all your projects) and paste this block.{"mcpServers": {"sentir": {"url": "<URL>"}}} -
Cursor picks the server up and opens your browser to sign in with Sentir.
-
Allow access. If the browser didn’t open, open the server from Cursor’s Customize page and sign in from there.
Steps checked against the Cursor docs: cursor.com/docs/context/mcp.
-
In your project create or open
.vscode/mcp.jsonand paste this block. Or use the MCP: Add Server command.{"servers": {"sentir": {"type": "http","url": "<URL>"}}} -
When the server starts, VS Code opens your browser to sign in with Sentir.
-
Allow access. In Copilot chat pick agent mode and the sentir tools appear.
Steps checked against the VS Code docs: code.visualstudio.com/docs/agents/reference/mcp-configuration.
What to expect
Section titled “What to expect”- The first time, each client takes you to Sentir’s permission screen. The next times it gets in by itself.
- If you change computer or client, you repeat the steps. Each client is a separate connection under Connected apps.
- The AI connects to the account you have open in Sentir. The tab and the permission screen name it.
- Each AI keeps one connection to Sentir, so it works in one account at a time. To use it in another, open that account in Sentir and connect it again.